Last weekend I got bored with planning and decided to start actually putting some stuff together, so I went out to the bike pile and extracted a red bike frame,

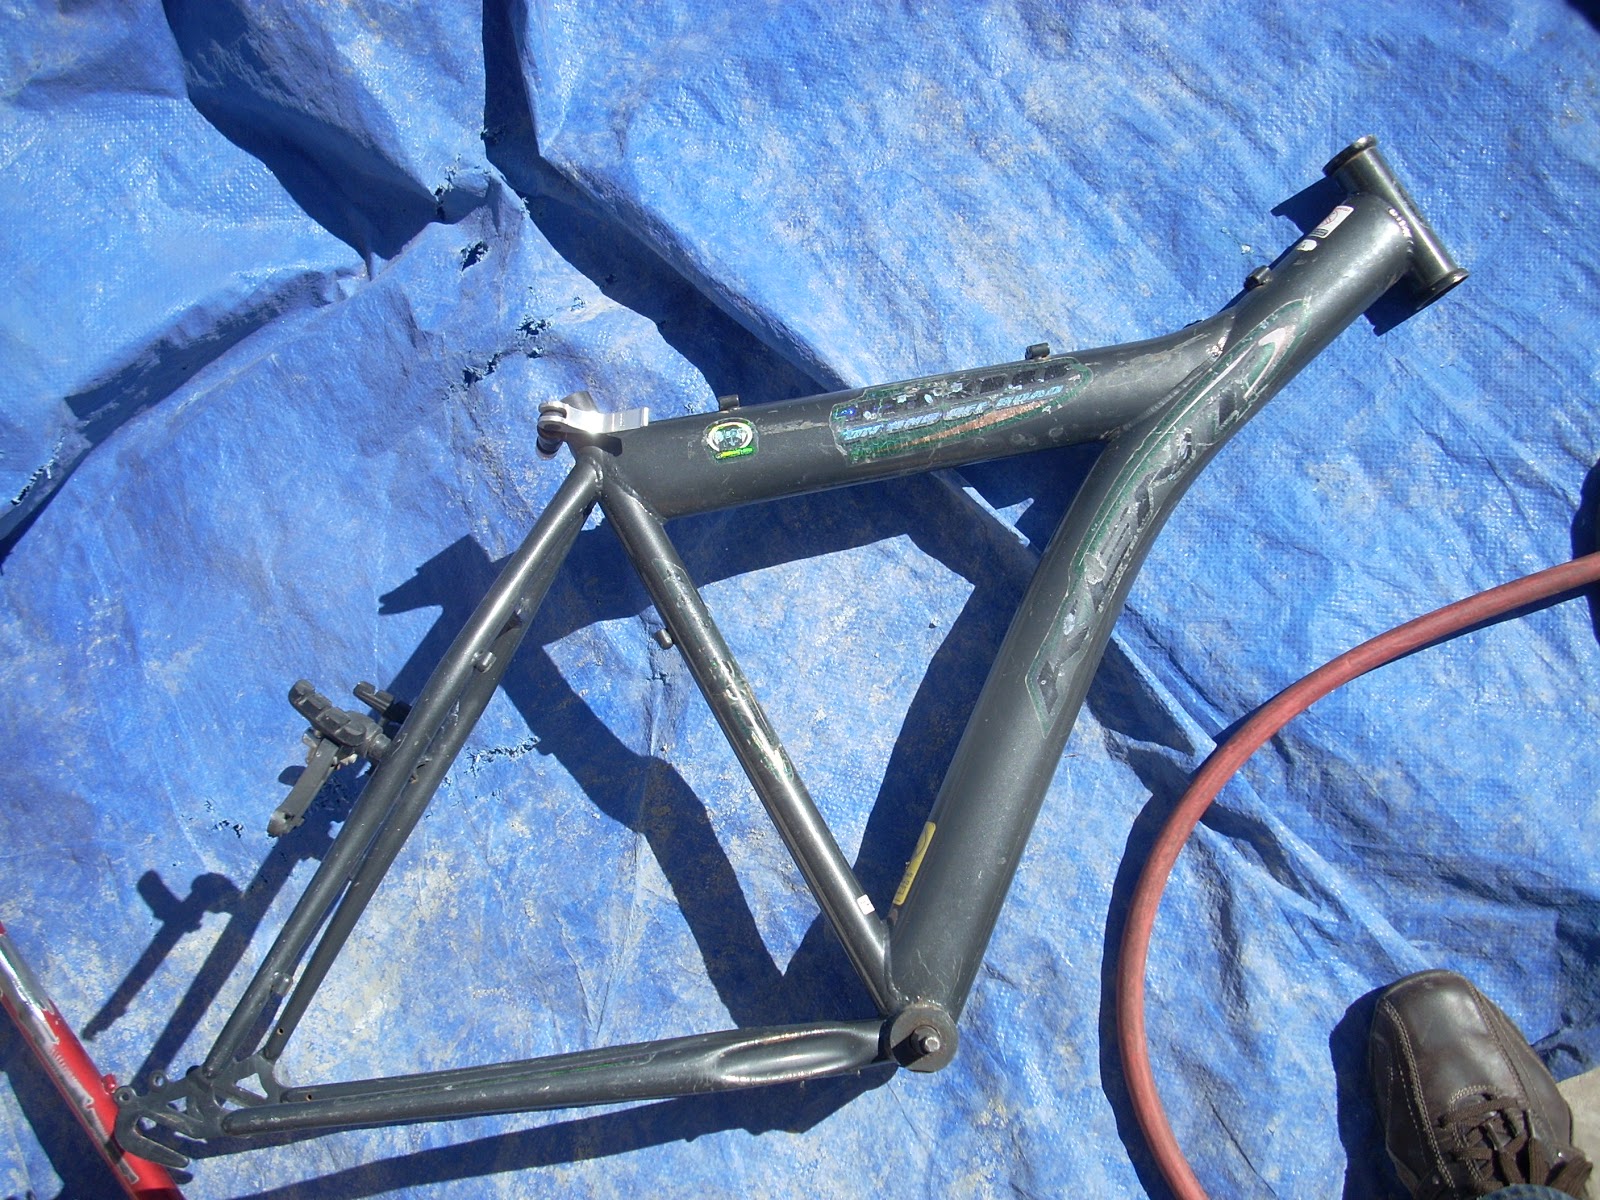
and my old nemesis the gray bike frame.
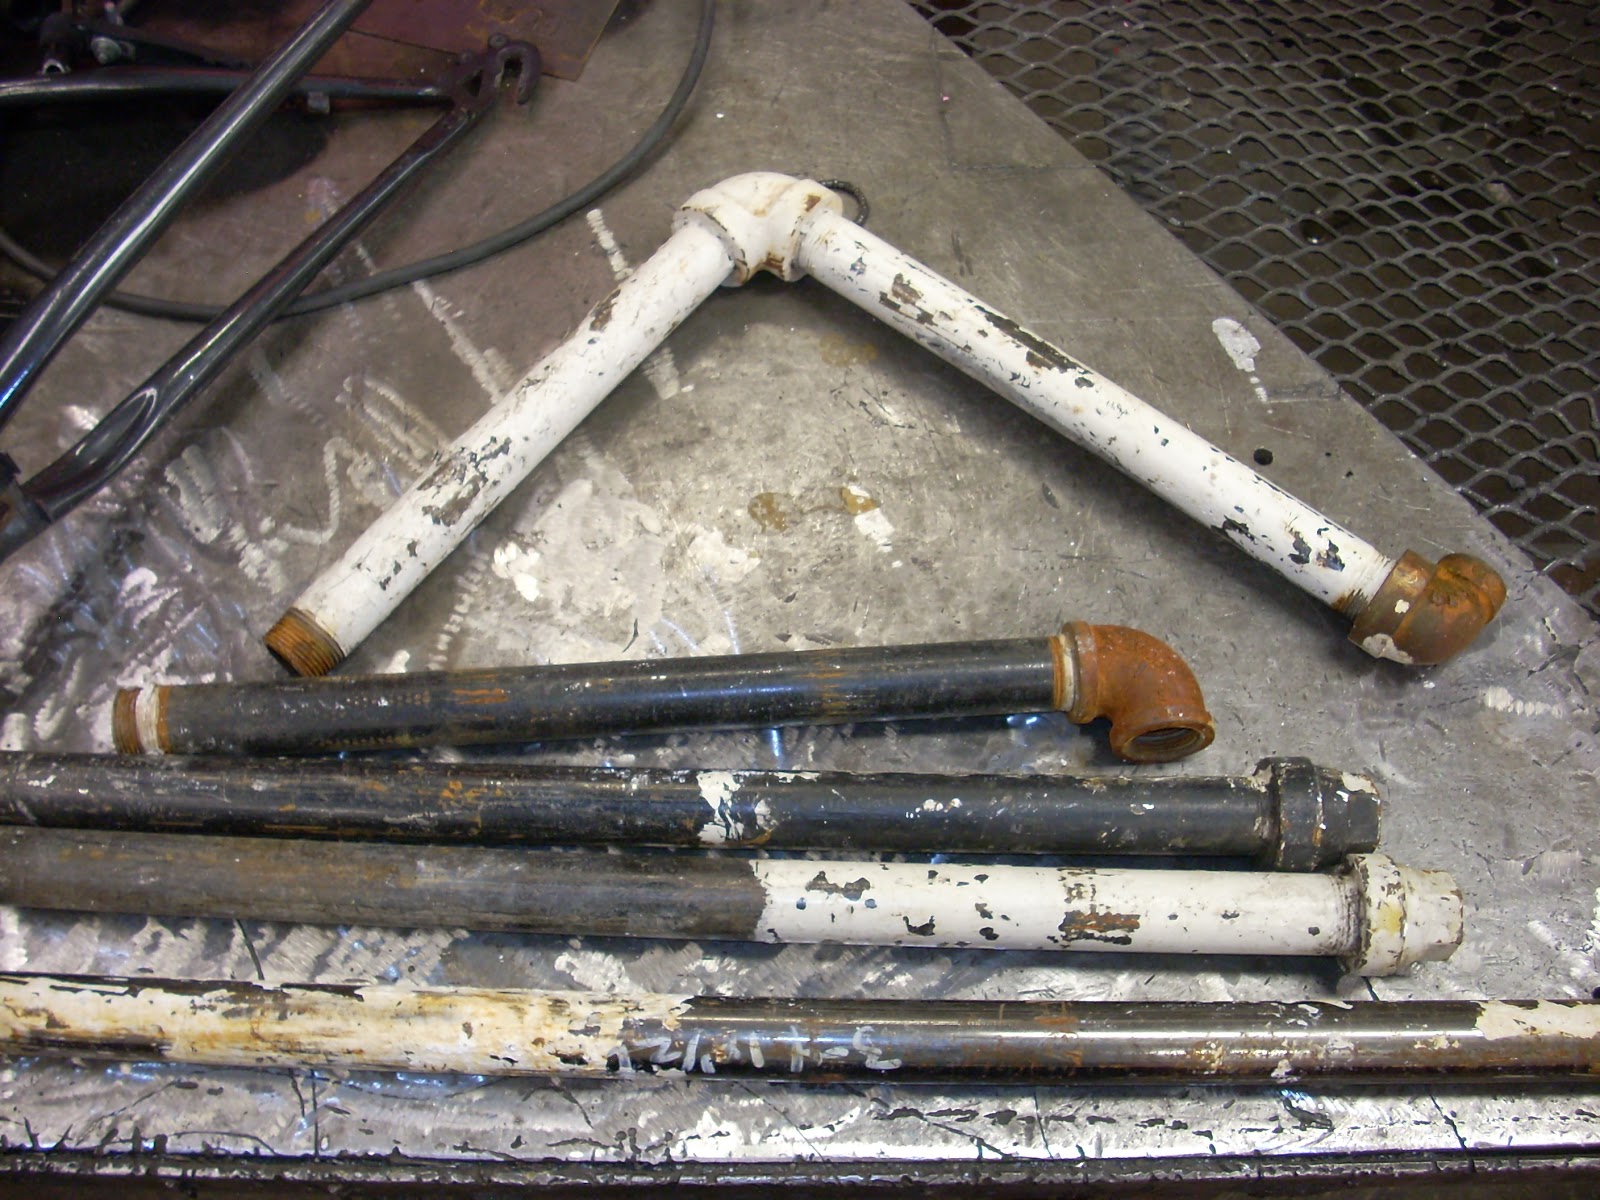
I also gathered up a collection of nasty looking pipes that were laying around the shop.
After that I tried using a wire-wheel on the bench grinder,

which only managed to smear the paint around and take up a lot of time.
Finally I was relegated to painstakingly scraping the majority of the paint off with a razor blade until I could again use the bench grinder to polish off the excess.

Eventually I managed to get them to a relatively useable state of cleanliness.

The next thing was to cut up some bike frames.
I had no use for the rear fork of the red bike, so I cut it off,

setting myself on fire in the process.

This would be okay, except that the sweater I was wearing belongs to my friend Jesse. So Jesse, If you're reading this, I've hired a team of plain-clothes guards to monitor your whereabouts.
Next, I put on some leathers and proceeded to grind off the bits of tubing and weld that were left behind.


This adorable pink bike probably made some little girl very happy once,

and yet I dismembered it in a shower of sparks.

Once I had prepared all the parts I needed, I laid them all out to see what would be the best configuration.

When performing metal work that has a structural function, it's important that joints fit together snugly so that the welds are in less danger of being thin. In order to get all the parts to fit the way I wanted them to, I cut each one to the size I needed, then contoured and bevelled the ends so that they would fit solidly against the curved surfaces that I had to weld to.
Next, I shimmed the pieces up using fire bricks so everything was straight and properly aligned.

I then tack-welded it together,

corrected a mistake or two,
then welded all the joints.

Once finished, I put on some seats and handlebars, assembled the crank sets,

and put on some wheels and tires.
Then I attached the chains using my newly (and reluctantly) acquired chain breaker ($17.95 plus tax).

At which point it was time for a test ride.

I managed to convince my friend Caitlin to help me out. As if riding a home-made tandem bike wasn't scary enough, her handlebars came loose while we were moving. She's fine, but informs me that we're taking a break from the friendship while she recovers.
This was surprisingly successful, but the next step is the hard part.
Woot, that frame looks really attractive too, very flowing top tubes. I'll have to show you the flannel I burned a hole through sometime. Keep up the pace! You can do it!
ReplyDelete