Showing posts with label Materials. Show all posts

Tuesday, March 19, 2013

A Junkyard Jaunt

I had run out of materials. Normally, as a financially-challenged do-it-yourselfer, I would have to choose between spending what little money I had on what was needed to continue my projects or on the solitary Totino's pepperoni and sawdust pizza that would sustain me for the month. Fortunately, Kai and his crew had organized an expedition to Coronado Wrecking and Salvage, and I stowed away.

On our journey we ate exotic foods and saw horrible things. At one point I was discovered and thrown overboard. Luckily we were in Albuquerque, so rather than drowning I walked the rest of the way.

By the time I made it ashore, the rest of the crew had already arrived. We were a total of five souls going by the names Kai, Joe, Frank, Little Frank and myself. 

The vastness of the landscape was overwhelming.


We scaled the great, lime-green cliff of dump truck

to find many useful natural resources.

While the indigenous population was accepting of us and generous with their commodities, some of their customs seemed strange to us. 

Even if we only wanted some, 

we had to take it all or risk inciting their wrath.

With our trade mission done, in the spirit of adventure we carried on.

Some time later, while admiring the incredible scenery,

we got separated in a roadwork graveyard.

Joe went off to pilot a submarine,

then went surfing.

Meanwhile, I got lost in a labyrinth of tanks,

then was crowned King of the Junkyard,

and Kai found some rubber.

Once we regrouped at base-camp we took inventory of our plunder.

Joe had commandeered an enormous length of chain.

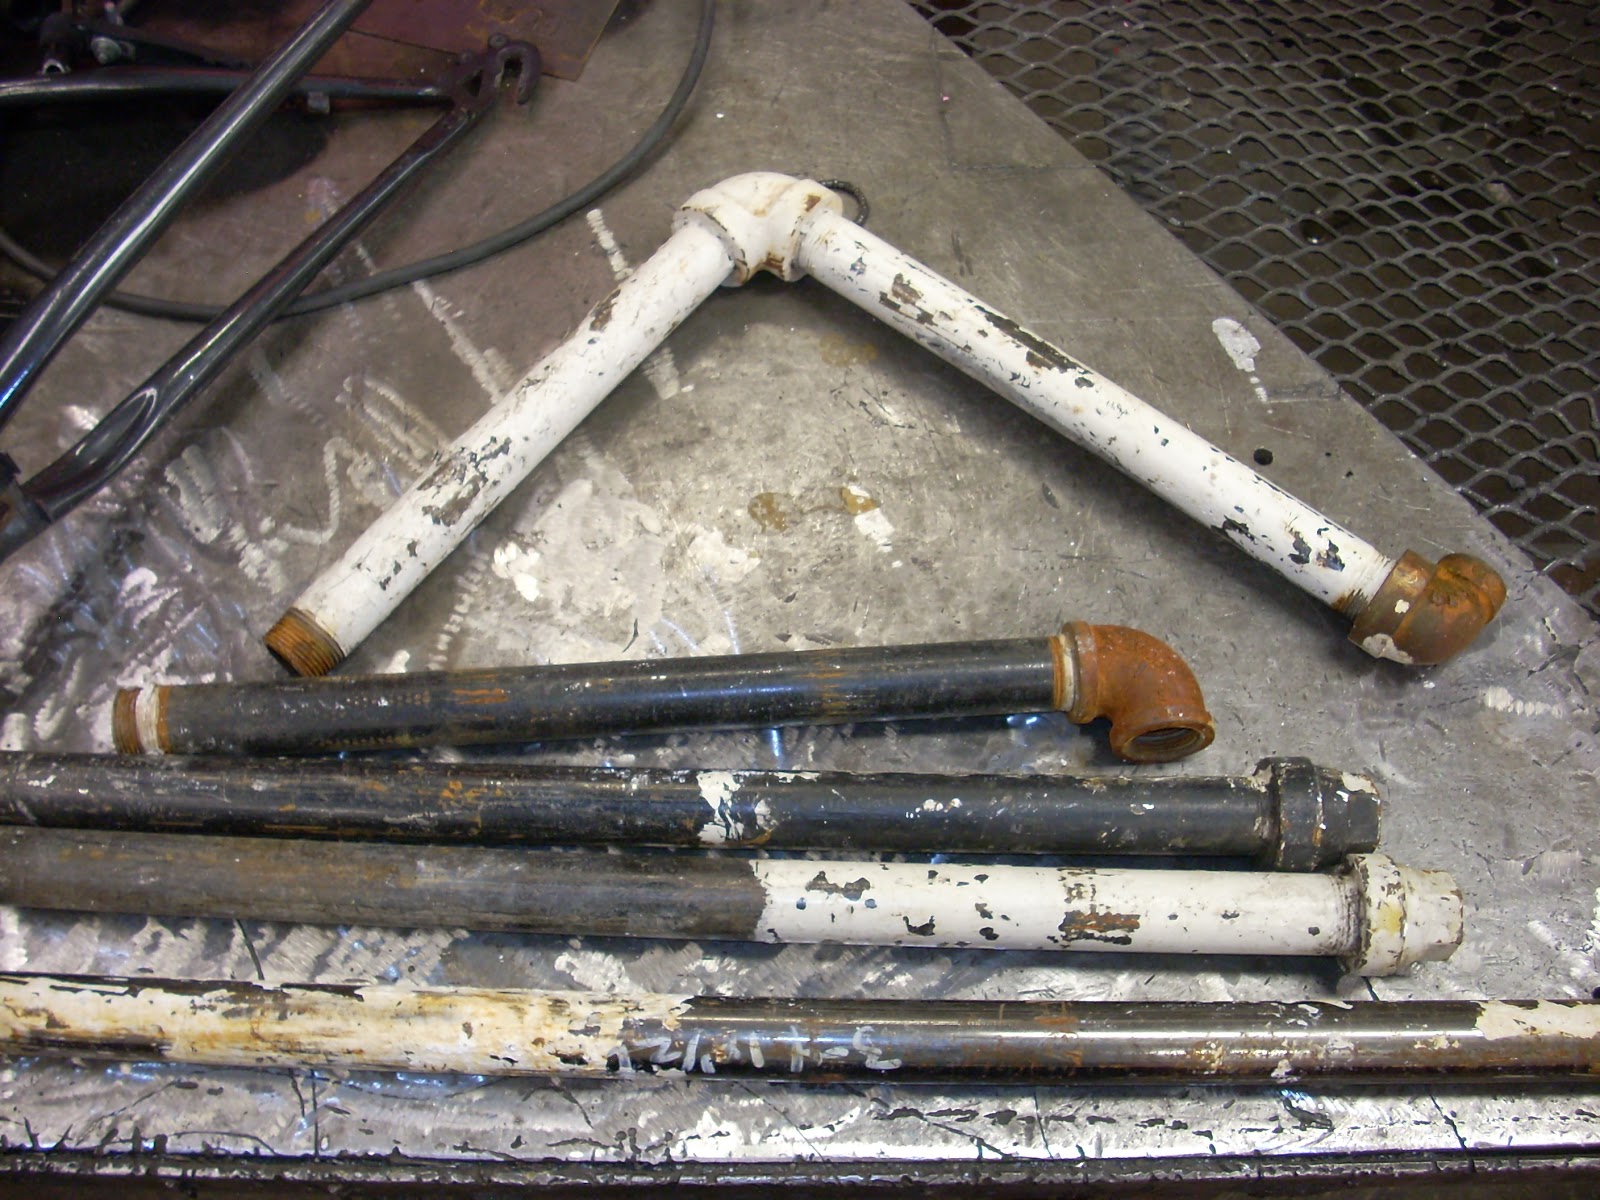
For myself, I had annexed 30 leagues of steel tubing and laid claim to a swath of twisty conduit.

Kai, Frank and Little Frank, alas, came away with nothing except the serious case of inspiration they contracted. They should recover with treatment. Nevertheless, a grand and successful adventure was had. 


Thursday, March 14, 2013

Recumbent Madness pt. 1

Various real life things like taxes and an attempt at finding a real job prevented me from posting last week (see "Dear Readers"), and for that I apologize and have written a ludicrously long post to make up for it.

After the successful proof of concept of the top level, it was time to begin constructing the lower, recumbent level of the Pariahcycle. So, I put on some metal, 

and, having never built even a normal bicycle in my life, got to work.


I began by laying it out on the shop floor in order to get a sense of the placement and scale of the parts I would need.
The result is that the upright portion is six feet from hub to hub, and the recumbent portion is ten feet from hub to hub.

I started by cutting the crank-set off of this thing so that the two parts could be used separately.

I was also using more of the horrible plumbing parts that I appear to have an endless supply of.
The ends of the tubing were too large of a diameter to be directly welded to the rear fork.

So I fired up the scary home-made forge that was built by a couple guys named Chris and Aaron. This involved turning on the gas with that red knob in the corner, then getting around to the front as quickly as possible to light it with a propane torch.

With that done, and with considerably less arm hair than I started the day with, I began shrinking the ends of the pipes down to make a better fit.

Then I did the same with the parts that connect to the middle crank, creating a thing that looked like this,


and one that looked like this.

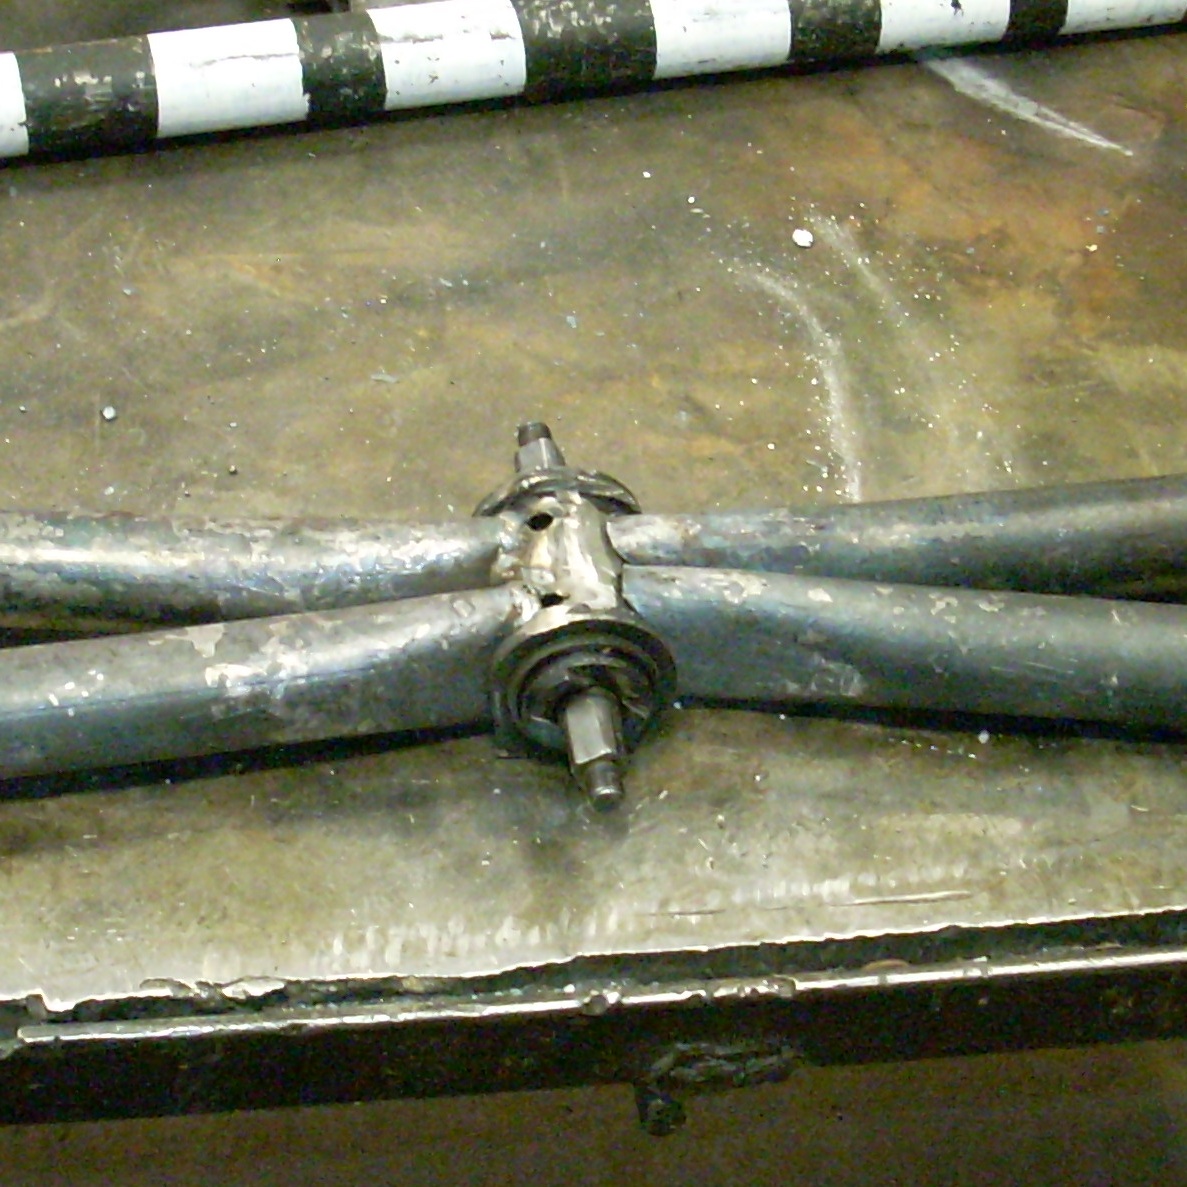
Because of the way that the crank had to be cut off, I was left with this enormous gap.

To remedy this, I found a piece of scrap that was kind of the right shape, but which didn't fit very well.

Fortunately, thanks to some guys called Thomas, Hrayr and Karine, I was able to sort that out with a quickness.

Next, I cut the rear fork off this black BMX,
and began constructing a new back end for it that would connect to the low-profile frame I would have to build.

This was a little complicated.
I cut two pieces of tubing and beveled and shaped the ends so that they would fit snugly against the curved surfaces of the BMX bike. Once I'd done this, I welded them into this triangular shape.

Then I had to create a V-shaped component to match the angle of the parts I had built earlier.
In order to do this, I had to take two pieces of tubing and merge them to the diameter of one piece of tubing so that I could weld them to the triangular structure at an angle for strength.

Because the angle I had to cut out of these pipes was so acute, the chop-saw didn't have a setting for it. As a result, I was forced to cut it out with an angle-grinder.
It turned out pretty sloppy, and required a huge nasty weld that is going to have to be in an unfortunately visible place.


The next thing I had to do was straighten everything out so I could tack weld it all together. I didn't really have a straight-edge that was long enough to be of any use, but that didn't matter because the frame had nothing to use as a reference point anyway. For this reason I resorted to just sighting along it, straightening everything out by eye. Once I thought I had it straight enough I tacked it all together, then stood back and looked at my work.

I had forgotten to double-check it.
It's probably hard to tell from this picture, but it was quite crooked.

I had to cut it apart and try something else.
On my next try, I clamped a long piece of rectangular tubing I had found to it, and tack-welded it again.

There was no really good place to do the clamping however, so it turned out crooked a second time.

I was again forced to cut it apart.
At Kai's suggestion I used string and C-clamps to stretch a line along which I could sight the frame. This worked great (helpful bastard), allowing me to weld it together for the third and final time.

With that, the frame was completed.
All ten feet of it.

Wednesday, February 27, 2013

Tiny Catapults!

For all (six) of you that read this blog and are tired of hearing about bicycles, I give you tiny catapults!

What you will need to construct your miniature siege engines:


1. A couple of nasty looking boards.
2. A 1/2" diameter dowel.
3. A short piece of a 2x2.
4. A length of thin rope.
5. Two 1" wood screws.
6. A 1/2" drill bit.
7. A 3/4" spade bit.
8. A drill or drill press.
9. A table saw or circular saw or handsaw.
10. A miter saw or miter box or motorized miter box
11. Scissors.
12. A screwdriver
13. A lighter.
14. A pencil.
15. A roll of tape.
16. A ruler.
17. A miniature enemy.


First, use your table saw to cut your nasty looking boards into two 7 1/2" x 3 1/2" rectangles. 
Once you've done this, tape the two boards together with the broad sides touching, then, with your pencil, mark the two longer edges: "top" and "bottom", and the two shorter edges "front" and "back".
Measure 1" up from the "bottom" and 2" from the "front" and draw an X. Next, measure 1" down from the "top" and 3" from the "front" and draw another X.

Next, with your boards still taped together, measure 1/2" up from the "bottom" and 1/2" from the "back" of the board and draw a V. Flip your taped boards over and draw another V in exactly the same place on the other side. 
Last, measure 3 1/2" from the "front" and 1 1/2" from the "bottom" and draw a T. Do the same on the other side.
Fit your 1/2" bit into your drill.
Drill the Xs all the way through.
Drill the Vs to a 1/4" depth.
Drive a screw into each of the Ts so about 1/4" sticks out.
Separate the two boards. 


These are your sides.
They should look like a mirror image of each other when you're finished. The sides with the screws sticking out will face inward.

Next, use your miter saw to cut your dowel into two 5 1/4" lengths and one 4 1/4" length.

Cut your 2x2 to a 7" length.                                                                  With your 3/4" bit, drill
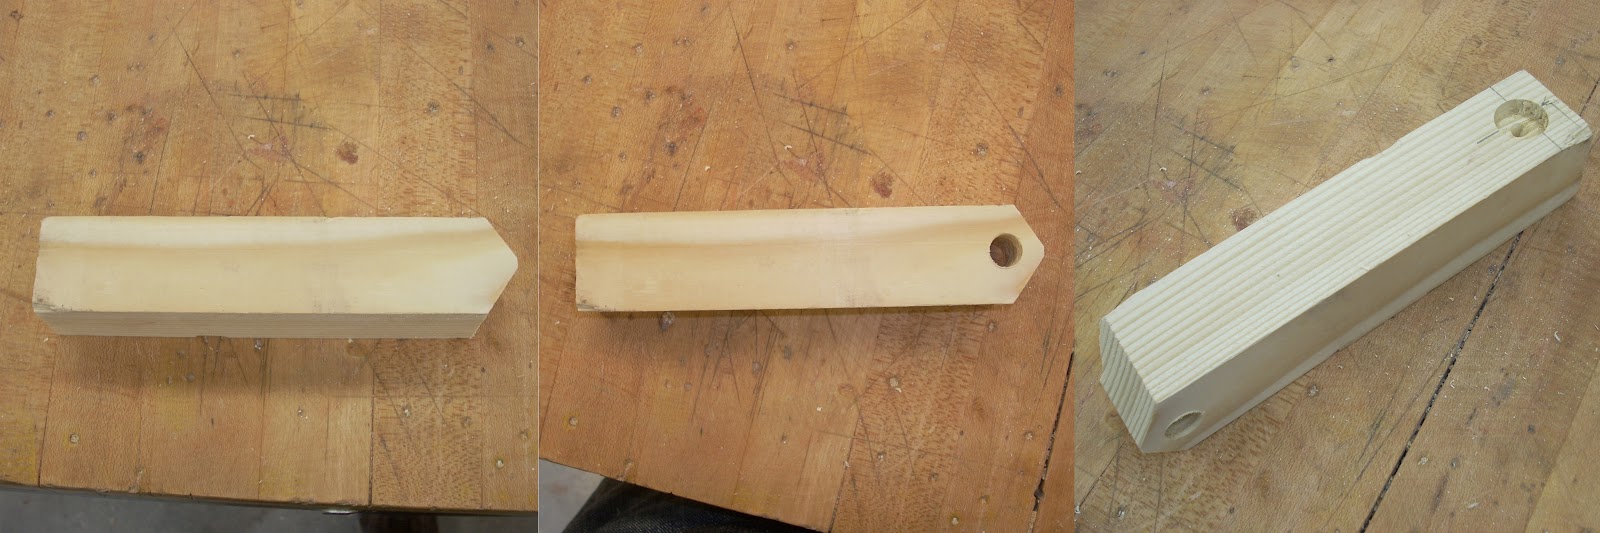
Cut one end into a triangle shape.                 Drill a 1/2" hole.                a 1/4" deep hole.     
This is your catapult arm.


Make sure your bit is sharp so that this doesn't happen


Then use your scissors to cut a 26" piece from your length of rope. If you're using braided nylon or another synthetic like I am, you'll have to use your lighter to melt the ends so they don't fray.


Now that you have all your parts, you can start to assemble your catapult.

Start by tying a knot in each end of your 26" piece of rope. I prefer to use a knot called a double half hitch for this.
 Then attach it to the screws.

Next, pass one of your longer dowels through the smaller hole of your catapult arm.
Fit each end into the lower holes on the sides. This dowel will be a pivot for the arm.
Use the catapult arm to twist the rope around the dowel as shown. There should be a fair amount of tension.
Slip your other longer dowel into the upper holes in front of the arm to maintain the tension in the rope.

Finally, notch the shorter dowel into the shallow holes you drilled toward the back, and you're done. You now have a functioning mechanism with which to wage minuscule siege warfare!

Don't stop there though. Embellish!

 Off to battle!

Tuesday, February 19, 2013

The Rise of Frankencycle

Last weekend I got bored with planning and decided to start actually putting some stuff together, so I went out to the bike pile and extracted a red bike frame,


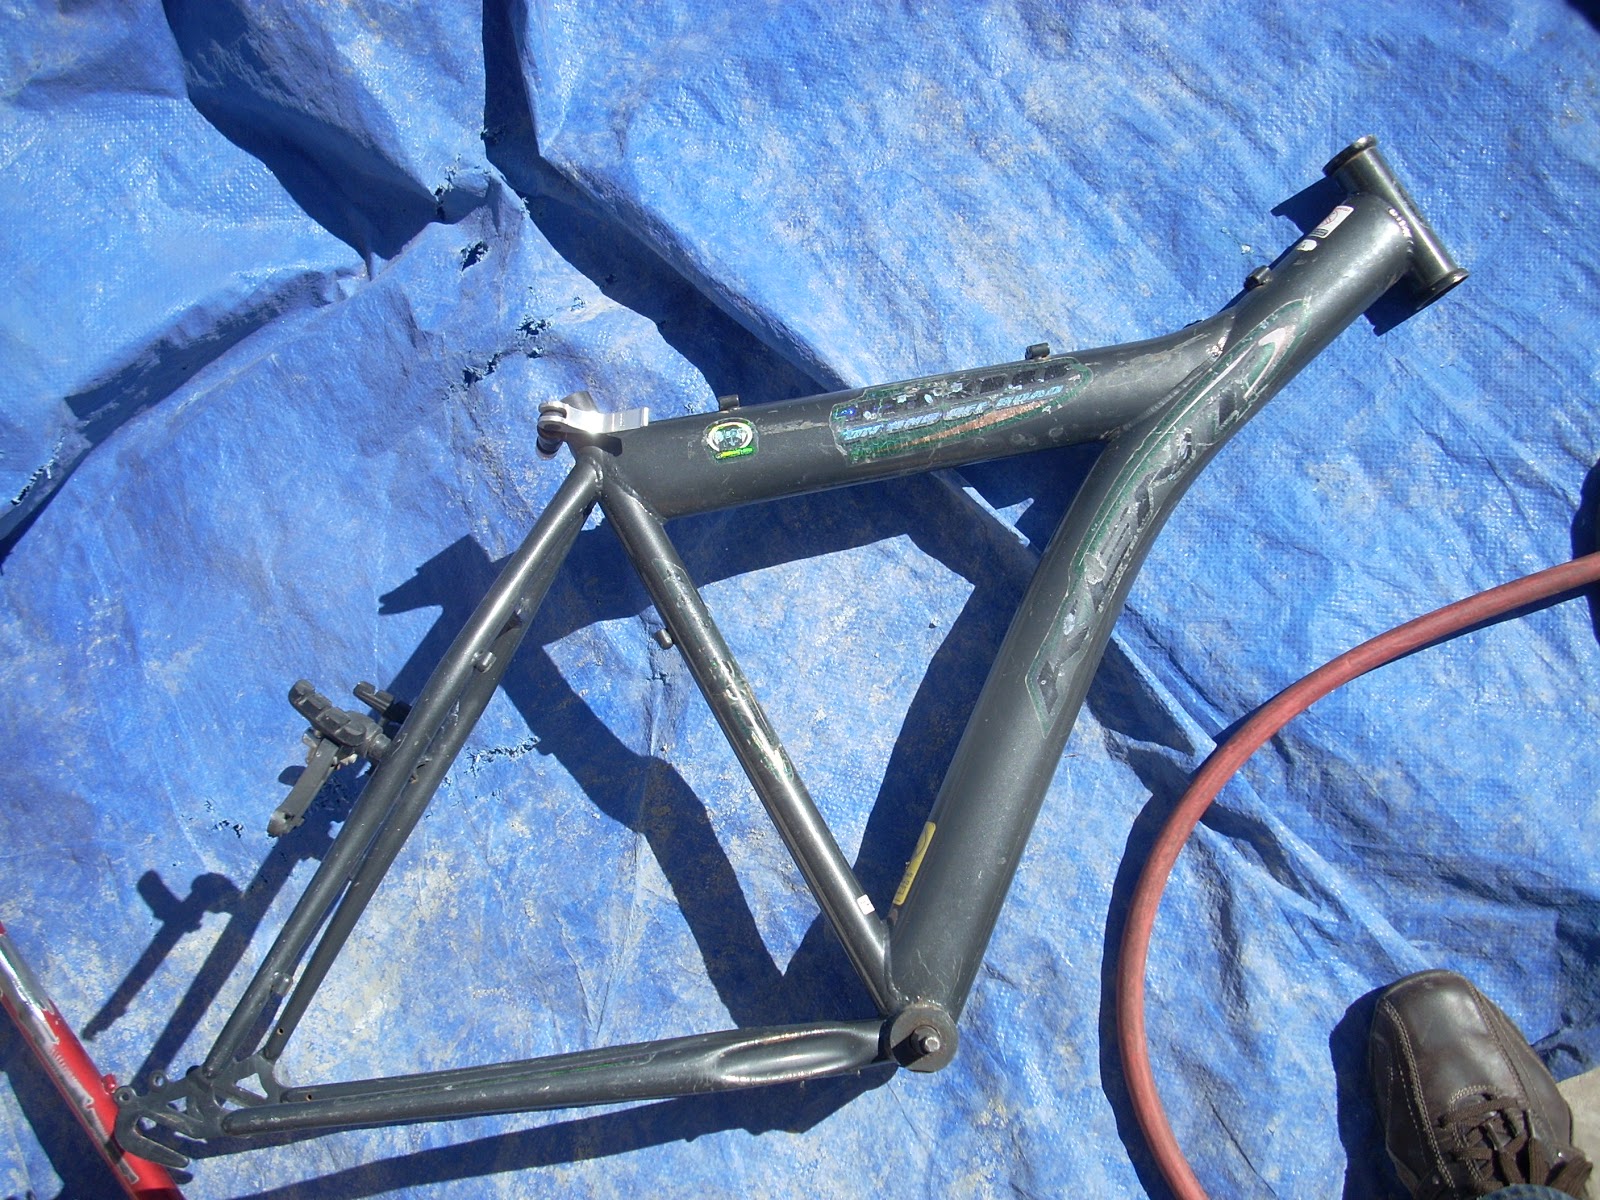
and my old nemesis the gray bike frame.

I also gathered up a collection of nasty looking pipes that were laying around the shop.

I think these pipes may have been part of a fire-sprinkler system from an old building. They were all coated in some kind of thick, impermeable paint. In order to clean the paint off I first tried using a chemical paint-stripper, which did effectively nothing except make me feel a little unusual. Next I tried sand-blasting them, but the sand-blaster that I had access to turned out to be next-to-useless.


After that I tried using a wire-wheel on the bench grinder,
which only managed to smear the paint around and take up a lot of time.

Finally I was relegated to painstakingly scraping the majority of the paint off with a razor blade until I could again use the bench grinder to polish off the excess.


 Eventually I managed to get them to a relatively useable state of cleanliness.


The next thing was to cut up some bike frames.

I had no use for the rear fork of the red bike, so I cut it off,

setting myself on fire in the process.
This would be okay, except that the sweater I was wearing belongs to my friend Jesse. So Jesse, If you're reading this, I've hired a team of plain-clothes guards to monitor your whereabouts.

Next, I put on some leathers and proceeded to grind off the bits of tubing and weld that were left behind.


 This adorable pink bike probably made some little girl very happy once,

and yet I dismembered it in a shower of sparks.

Once I had prepared all the parts I needed, I laid them all out to see what would be the best configuration.

When performing metal work that has a structural function, it's important that joints fit together snugly so that the welds are in less danger of being thin. In order to get all the parts to fit the way I wanted them to, I cut each one to the size I needed, then contoured and bevelled the ends so that they would fit solidly against the curved surfaces that I had to weld to.

Next, I shimmed the pieces up using fire bricks so everything was straight and properly aligned.

I then tack-welded it together,
corrected a mistake or two,

then welded all the joints.

 Once finished, I put on some seats and handlebars, assembled the crank sets,

and put on some wheels and tires.

Then I attached the chains using my newly (and reluctantly) acquired chain breaker ($17.95 plus tax).

At which point it was time for a test ride.
I managed to convince my friend Caitlin to help me out. As if riding a home-made tandem bike wasn't scary enough, her handlebars came loose while we were moving. She's fine, but informs me that we're taking a break from the friendship while she recovers.

The test ride of the Tandem-Frankencycle was really only meant as a proof-of-concept for my gearing system, making sure that it didn't slip or rub. Ultimately, this frame will be the upper portion of the Pariahcycle. It won't have wheels, only a coaster-gear at the back with another chain leading down to the gears and rear wheel of the lower, recumbent level.

This was surprisingly successful, but the next step is the hard part.